
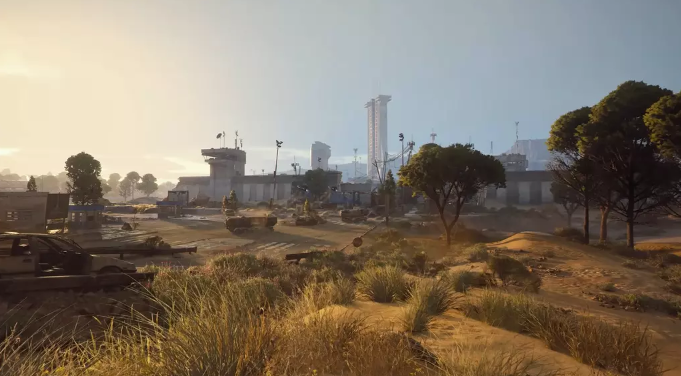
ARC Raiders, the third-person extraction shooter from Embark Studios, features a variety of focused quests that test your navigation, stealth, and strategic thinking. Among these, “Switching the Supply” stands out as a straightforward yet essential mission-one that rewards map knowledge and efficient execution. Whether you’re a solo player or part of a small squad, this guide will walk you through every step to complete the quest smoothly, avoid common pitfalls, and claim your well-deserved rewards. As a result, you will obtain more ARC Raiders BluePrints and other resources.
Understanding the Quest Objectives
Before diving into the mission, it’s critical to know what “Switching the Supply” requires. Unlike more complex quests in ARC Raiders, this one has simple, clear objectives that must be completed in a single run-fail to finish all steps in one go, and you’ll have to start over.
The core objectives are threefold: first, locate the underground tunnels beneath the Spaceport map; second, find and interact with a specific valve in these tunnels; and third, extract successfully (though some sources note the quest may complete immediately after turning the valve, extraction is still recommended to secure rewards). The quest is given by Celeste, one of the game’s five traders, and typically unlocks after completing her initial quest chain, around quests 30–35.
Step 1: Load Into the Spaceport Map
The entire quest takes place on the Spaceport map, so your first move is to select this location when matchmaking. For the fastest route, aim for a southern or central spawn near the launch towers-these areas offer the quickest access to the underground tunnels.
Once you’re on the Spaceport map, take a moment to open your map by pressing “M” (default keybind). Press “E” to toggle between the surface map and the underground tunnels map-this will help you plan your route and avoid getting lost in the maze of corridors belowground. The Spaceport is a PvP-heavy area, so move cautiously even before entering the tunnels; rival raiders often patrol the surface, especially near high-traffic areas like the launch towers.
Step 2: Find the Underground Tunnels Entrance
The underground tunnels are the heart of this quest, and finding their entrance is key to progress. While there are multiple entry points, some are more efficient than others.
The most direct entrance is located southwest of the central launch towers, near the departure building. Look for a rusted maintenance hatch, a half-open grating, or a cracked opening in the ground-these are common markers for tunnel access points. Another reliable entry is in the north loading bay area, marked by a ladder leading downward to the maintenance level.
If you’re combining this quest with “Clean Dream” (another Celeste quest), you’ll be glad to know both use the Spaceport’s underground tunnels and share overlapping routes. Completing them in the same run saves time and resources.
Step 3: Navigate the Tunnels and Locate the Valve
Once inside the tunnels, you’ll find a dimly lit network of concrete corridors, lit by flickering lights and lined with industrial piping. The tunnels stretch roughly 150–200 meters, so stick to the main path to avoid dead ends or ambushes.
To find the valve, follow the main corridor-ignore side passages, as they often lead to unnecessary encounters with ARC drones or rival players. The valve is easy to spot: it’s a red, steering-wheel-style valve attached to yellow piping, usually positioned at waist height near green filtration tanks in a wider chamber.
Move quietly to avoid drawing attention. Use silenced weapons or melee attacks to take down patrol drones, as loud noises will quickly attract reinforcements. If you’re playing solo, crouch and stick to the shadows; if in a squad, assign one player to scout ahead while others cover the rear.
When you reach the valve, approach it and hold the interact button (default “E”) for a few seconds. The quest will complete immediately once the valve is turned-even if you die afterward, you’ll still get credit for completing the objective.
Step 4: Extract Safely (and Claim Rewards)
While the quest may complete after turning the valve, extraction is still crucial to secure your rewards and avoid losing any loot you’ve collected. Don’t linger in the tunnels-head straight for an extraction point as soon as the valve is turned.
The best extraction points are the helipads above the launch towers or the raider hatches near the tunnel entrances. These locations are relatively safe, but keep an eye out for rival players who may be waiting to ambush you during extraction.
Completing “Switching the Supply” rewards you with valuable items, including a blue Renegade color variant, a Spaceport Trench Tower key (which unlocks high-loot areas), synthesized fuel, and cheap ARC Raiders Items. You may also receive a Raider Utility Suit or Vita Spray, depending on your progress in the game.
Pro Tips for a Smooth Completion
To make the quest even easier, keep these tips in mind. First, play during low-traffic hours or with the night raid modifier-this reduces PvP interference and makes it easier to navigate the tunnels unnoticed.
Second, avoid confusing the red objective valve with similar valves in side rooms-stick to the main corridor and look for the yellow piping to stay on track. If you get lost, follow the left wall of the tunnels; this will lead you back to the main path.
Finally, if you’re lightly geared or playing solo, prioritize speed over loot. Focus on finding the valve, turning it, and extracting-you can always return later to farm the Spaceport’s industrial zones for bonus loot.
Final Thoughts
“Switching the Supply” is a great introduction to ARC Raiders’ tunnel navigation and risk-reward gameplay. It’s simple enough for new players but still requires careful planning to avoid PvP encounters and complete objectives efficiently.
By following these steps-loading into the Spaceport, finding the tunnel entrance, navigating to the valve, and extracting safely-you’ll complete the quest in no time. Remember to use the underground map, move quietly, and prioritize your objectives, and you’ll be well on your way to earning those valuable rewards.